
How to Switch to Mailzzy from Another Platform
Last updated on May 14, 2026
Moving your email marketing to a new platform does not have to be complicated. This guide walks you through everything you need to do to switch to Mailzzy and get up and running quickly — whether you are coming from Mailchimp, Brevo, MailerLite, or any other tool.
Step 1: Create Your Mailzzy Account
If you have not already done so, sign up for a free Mailzzy account at mailzzy.com. No credit card is required. Your 30-day free trial gives you full access to all features so you can test everything before committing.
Step 2: Export Your Contacts from Your Old Platform
Before leaving your previous platform, export your full contact list as a CSV file. Most email marketing tools allow you to do this from their audience or contacts section. Make sure your export includes:
- Email address
- First name and last name
- Any tags or groups you use to segment your audience
- Any custom fields relevant to your campaigns
Note: Export only those contacts who have explicitly opted in to receive emails from you.
Step 3: Import Your Contacts into Mailzzy
Once you have your CSV file ready:
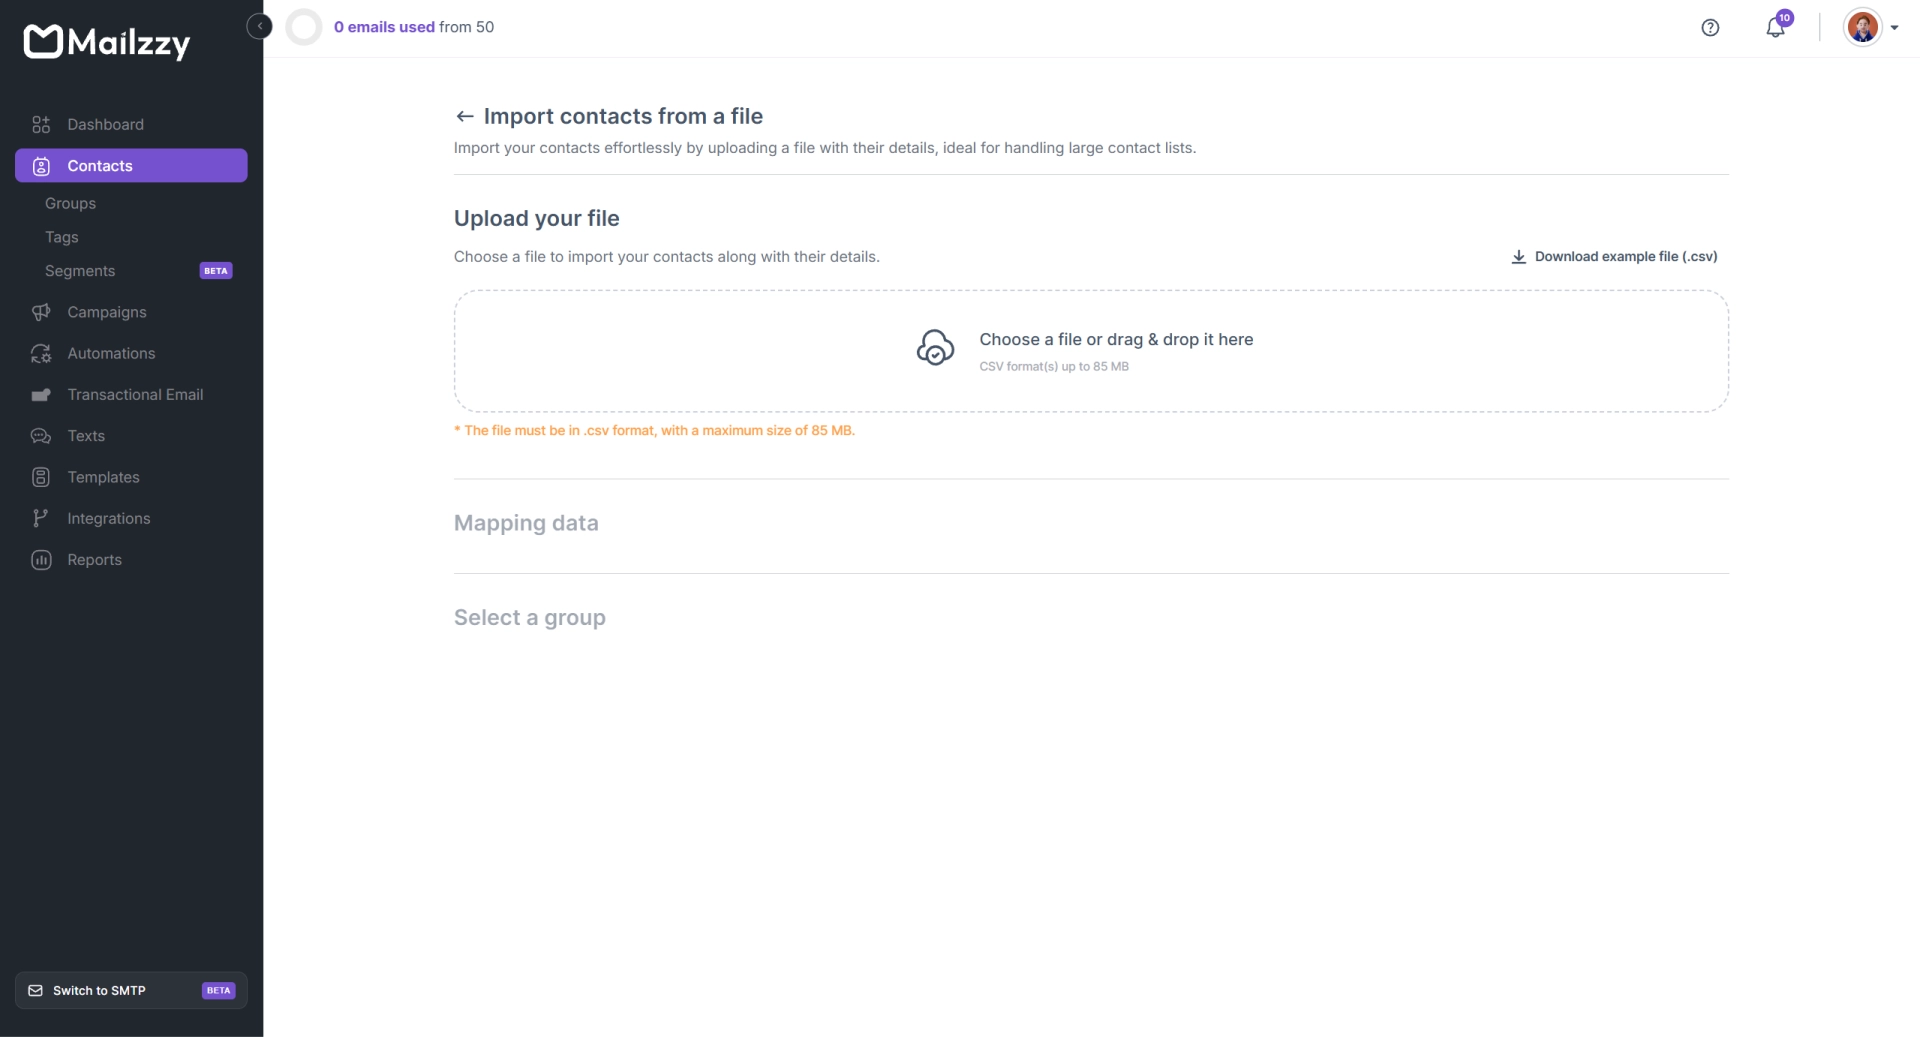
- Go to the Contacts page in Mailzzy.
- Click on Import Contacts.
- Upload your CSV file and map the columns to the correct Mailzzy fields.
- Review the import summary and confirm.
For full import instructions, see our guide on How to Import Your Contacts to Mailzzy.
Step 4: Set Up Your Sender
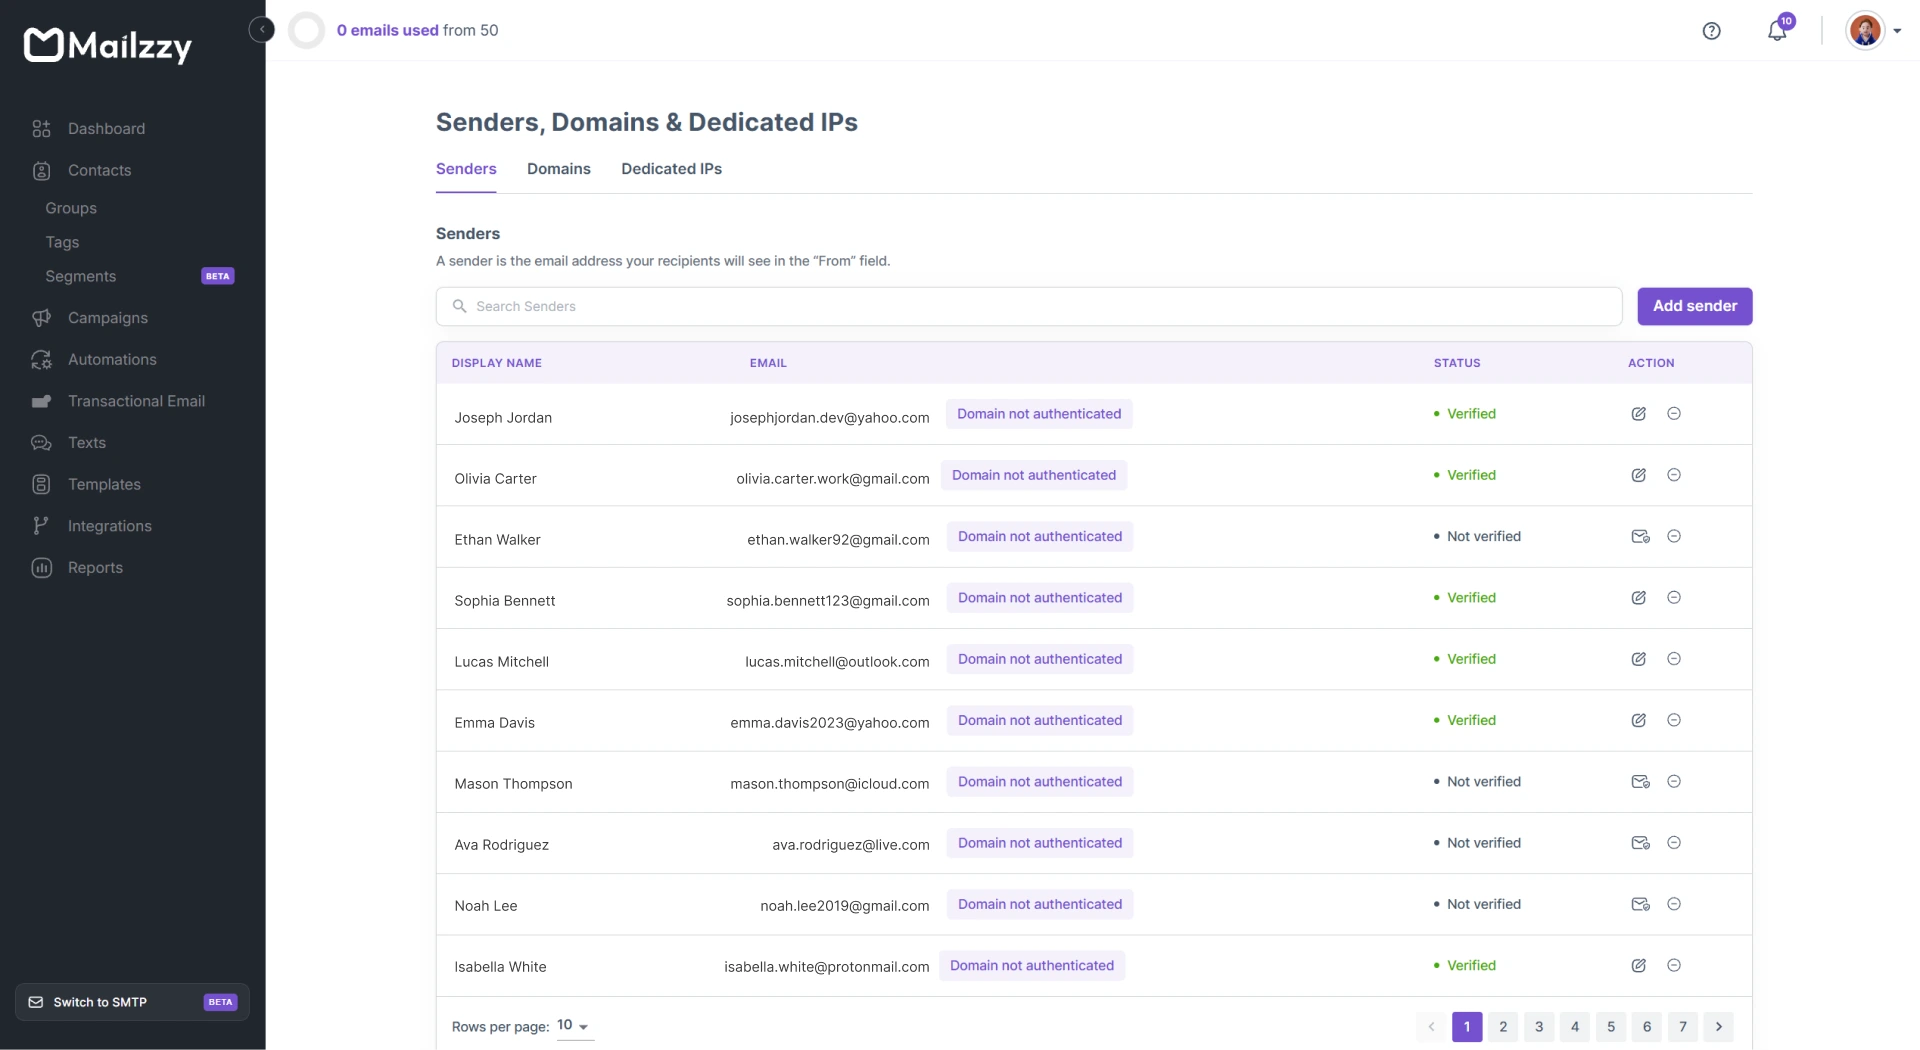
Add and verify the email address you will be sending from. If you are using a custom domain email address, we strongly recommend completing domain authentication (SPF, DKIM, and DMARC) to ensure the best possible deliverability.
Go to your profile menu and navigate to Senders, Domains & Dedicated IPs > Senders to add your sender.
Step 5: Authenticate Your Domain
Domain authentication is one of the most important steps when switching platforms. It tells inbox providers that Mailzzy is authorized to send emails on behalf of your domain.
Follow the Domain Authentication Guide for Mailzzy to set up SPF, DKIM, and DMARC for your domain.
Step 6: Recreate Your Templates
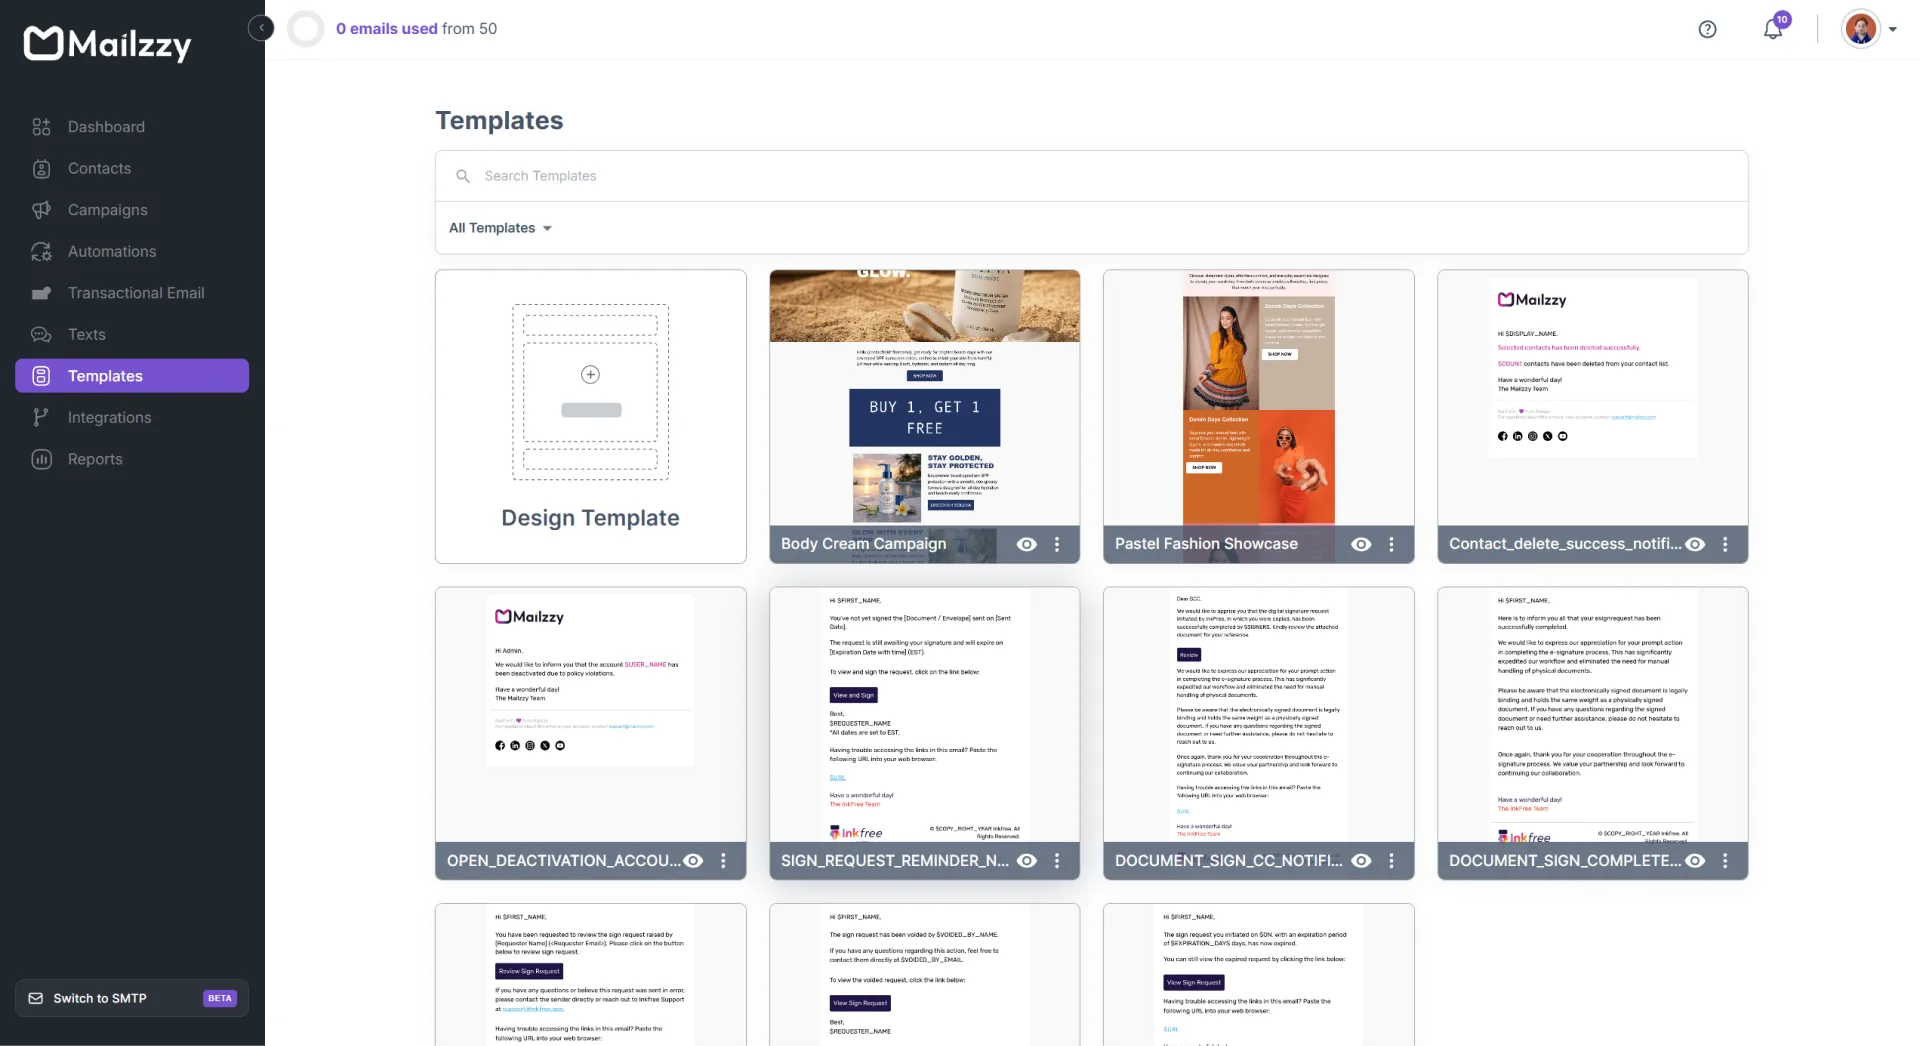
Use Mailzzy's drag-and-drop editor to recreate your email templates. You can start from one of Mailzzy's pre-designed templates and customize it to match your branding or build a new design from scratch.
Step 7: Warm Up Your Sending
If you are moving a large list to a new sending domain or dedicated IP, do not send to your full list on day one. Follow the warm-up process to gradually build your sending reputation with inbox providers. See Warm Up Your Sending Domain or Dedicated IP for the recommended schedule.
Step 8: Cancel Your Old Account
Once you are confident that everything is set up correctly in Mailzzy and you have sent your first few campaigns successfully, you can cancel your previous platform subscription. Check your old provider's billing cycle to make sure you cancel at the right time to avoid unnecessary charges.


Let's keep in touch
Sign up for our weekly email marketing newsletter and Mailzzy updates.
For more details, review our Privacy Policy


© 2026 Mailzzy. All rights reserved.