How to Create and Manage Contact Groups
Last updated on May 15, 2026
Contact groups let you divide your audience into organized, named collections that you can target with specific campaigns. Rather than sending every email to your full list, groups give you the precision to reach the right people with the right message at the right time.
What Are Contact Groups?
A group is a manually defined collection of contacts that you control. You decide who goes in, and Mailzzy keeps that group ready to use whenever you create a campaign. Groups are static by nature — they contain the contacts you have explicitly added to them and do not update automatically based on behavior or conditions (that is what segments are for).
Examples of useful groups:
- Customers who purchased in the last 90 days
- Newsletter subscribers who signed up at an event
- VIP clients on a premium plan
- Contacts in a specific country or region
- Leads at a specific stage in your sales process
How to Create a New Group
- Navigate to Contacts in the left-hand sidebar.
- Click on the Groups tab or section within the Contacts area.
- Click Create Group or New Group.
- Choose the group type:
- Private Group — Contacts added to this group are visible only to you and your managers.
- Public Group — Contacts added to this group are accessible to everyone under your account.
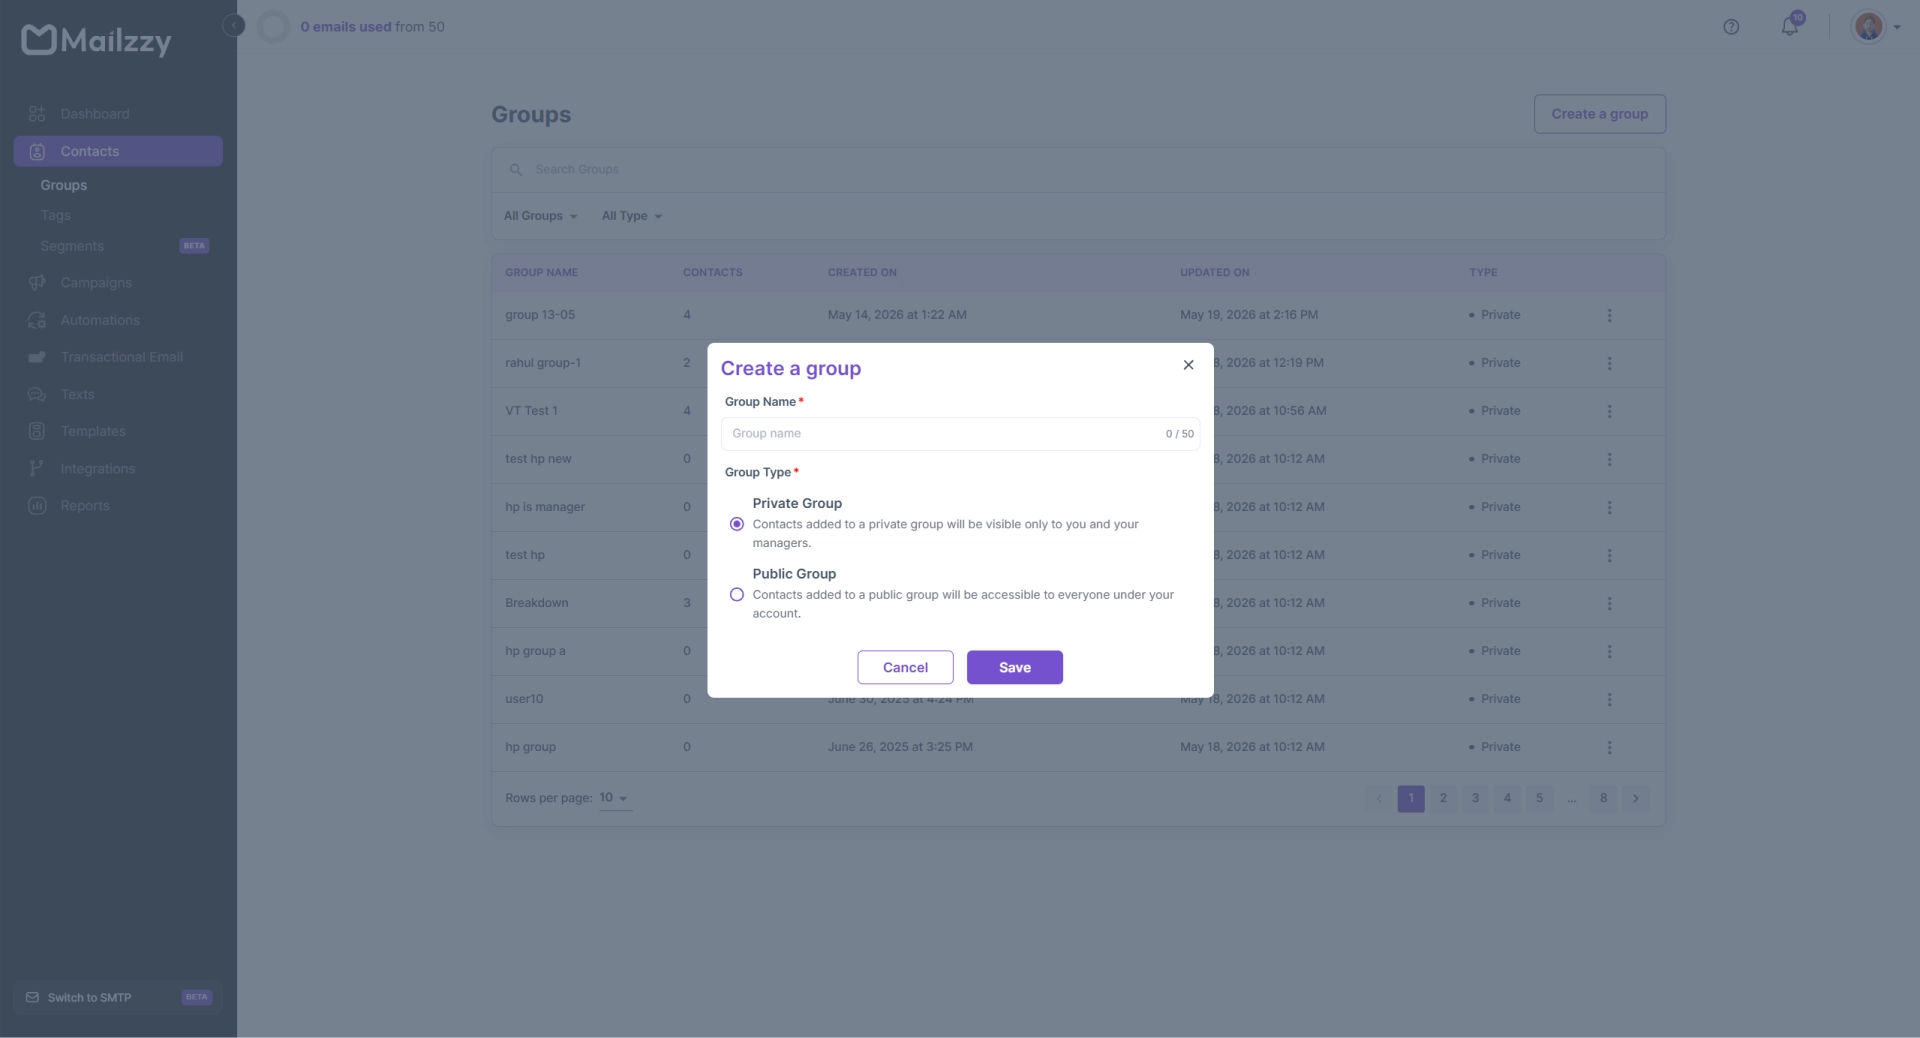
- Enter a clear, descriptive name for the group. Use a name that will still make sense to you months from now — for example, “Event Signups – March 2025” is more useful than “New Group 3”.
- Click Save or Create.
Your new group appears in the Groups list immediately and is ready to receive contacts.
During a contact import:
When importing contacts via CSV, you can assign all imported contacts to an existing group or create a new group specifically for that import batch. This is the most efficient approach when onboarding a new list segment.
How to Use a Group When Sending a Campaign
- Create a new campaign and proceed to the Recipients step.
- In the recipient selector, choose Groups.
- Select one or more groups from the list.
- Mailzzy will automatically calculate the combined recipient count, deduplicate overlapping contacts, and use that audience for the campaign.
Note: You can send to multiple groups simultaneously and also exclude specific groups from a send. This is useful when you want to reach a broad audience but exclude contacts who have already received a related campaign.
Renaming and Deleting Groups
To rename a group, go to the Groups section, click the options icon next to the group name, and select Rename. Renaming a group does not affect the contacts inside it or any historical campaigns that used it.
To delete a group, select Delete from the same options menu. Deleting a group removes the group structure but does not delete the individual contacts — they remain in your account and can be added to other groups.

Designed to meet WCAG 2.1 AA
Let's keep in touch
Sign up for our weekly email marketing newsletter and Mailzzy updates.
For more details, review our Privacy Policy


© 2026 Mailzzy. All rights reserved.

